Category Archives: EmbedDev

Development Computer Setup: Part 1

I want to list out all of the things I am doing on my computer to get it up and running.

Updates

First, after install I ran a system update:

sudo apt-get update

then:

sudo apt-get upgrade

This brought the system mostly up to date.  I tend to default to the explicit command line update for Ubuntu due to habit, but I imagine the update application is just fine as well.  I tend to run these two commands before starting for the day on any Ubuntu box of my own that I use in order to keep the system up to date.

Synergy

I have this computer setup next to my main desktop and I don’t want to have 2 sets of keyboards/mice.  Back in college I used an application called Synergy to connect between my desktop and laptop but haven’t used it in a while.  I downloaded the Windows 64 bit version (Since I am running Windows 7 Ultimate 64-bit) and installed it.  I ran it, went into the Server Configuration utility (The Configure Server… button), dragged a screen into the box to the left of my main computer (Starbuck), double clicked it, and named it EmbedDev(since that is the name of the computer).  I hit Ok twice to get back to the main screen, then opened Settings under the Edit menu.  I checked ‘Start Synergy after logging in’ and ‘Automatically start server/client’ so it would automatically start when I turn on the computer since I’m lazy and like things to be automatic.

Next I downloaded the 32 bit Ubuntu/Debian version from the site and installed it using the package manager.  It threw some warnings about not trusting it since it didn’t give a final install size, but I went on and installed it anyways.  I opened it for the first time, clicked Client, and put in the Windows computer’s IP address (It shows the current computer’s IP address, so I just entered what was showing on my Windows desktop(192.168.1.106 in this case)), and clicked start. It ended up working pretty easily like I remember.  The next step was to set it to automatically start on that computer too.  I went to the Dash Home and opened ‘Startup Applications’.  I hit Add, filled in ‘Synergy’ for Name, ‘synergyc 192.168.1.106’ for Command, hit Save, then Close.  I restarted since I had to for updates anyways, and sure enough I could pop my mouse over to it after it finished booting (It automatically logs me in since it’s just a desktop in my room.).  One keyboard/mouse(Logitech’s mk710) for two computers, win.
 

New Development Computer

Every time I get a new development platform or microcontroller to play with I end up spending hours scouring the internet to find the appropriate tools, installation methods, and examples for getting started with it.  Not only that, but since I end up using a number of desktops and laptops I have a hard time keeping things synched up and clean.   With these two thoughts in mind I am going to start a post series on building a custom development computer, setting up build environments, and some basic tutorials for several popular development platforms.  I may do some screencasts in the future if people want them.

Computer Specifications

I want to be complete in this so I’m going to start with my computer build process and Ubuntu install.  Since all this is really for is writing code to run on embedded platforms and possibly some GUI programs for USB/Network device connectivity there is no need for the latest and greatest.  I would like the computer to be compact, relatively low power, and cheap.  I have several hard drives laying around and an extra 19″ Monitor, keyboard, and mouse.  This leaves a case, Power Supply Unit(PSU), motherboard(MoBo), processor, and RAM.  In the vein of simple I went with this Foxconn barebones case/PSU/MoBo, 4GB of DDR3,  and a Celeron G540.  All told it was $194 shipped with tax to San Diego.  Most hardcore computer nerds would turn their nose up at the Celeron series, but this is basically a slower, non-hyperthreading 2 core Sandybridge chip with decent integrated graphics which means it can handle coding and compiling for embedded processors and more for $50, not bad at all.  Check out AnandTech’s budget guides for 2011 and 2012for benchmarks and more information.  I had a 1TB Western Digital Green that I am using for the computer.  I may upgrade to a 60/64GB Solid State Drive(SSD) in the future, but I’m being cheap for now and sticking with what I have in hand.

Build

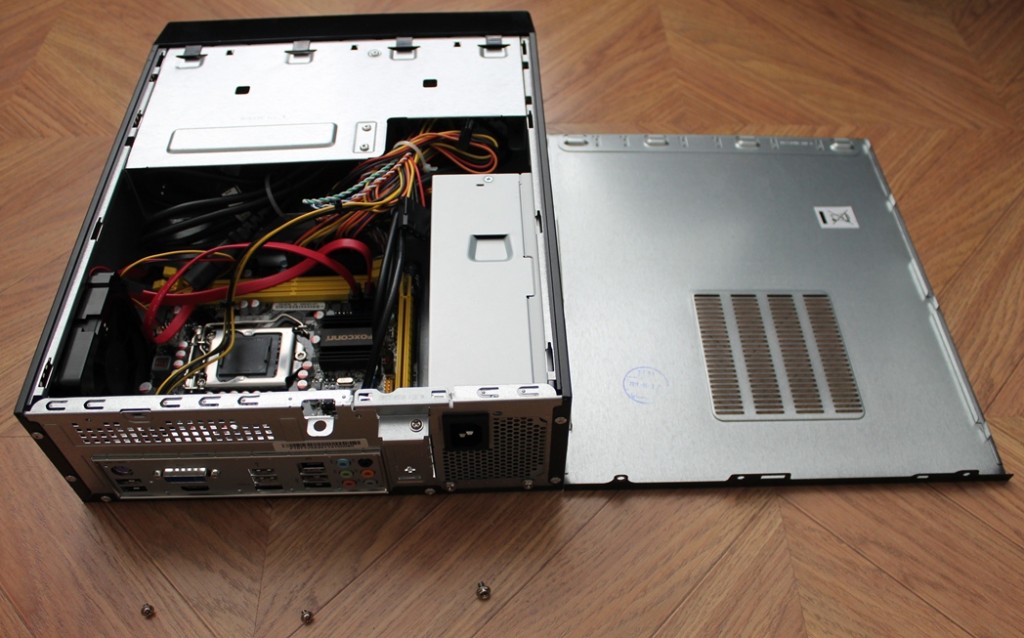
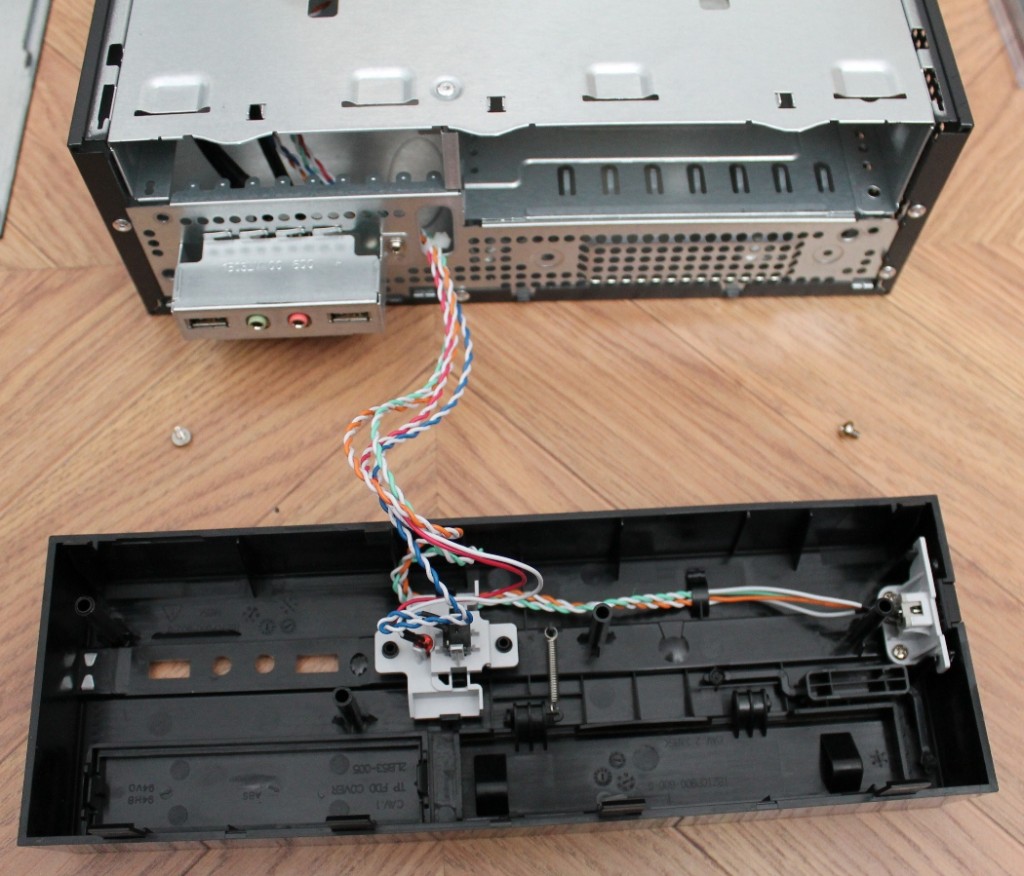
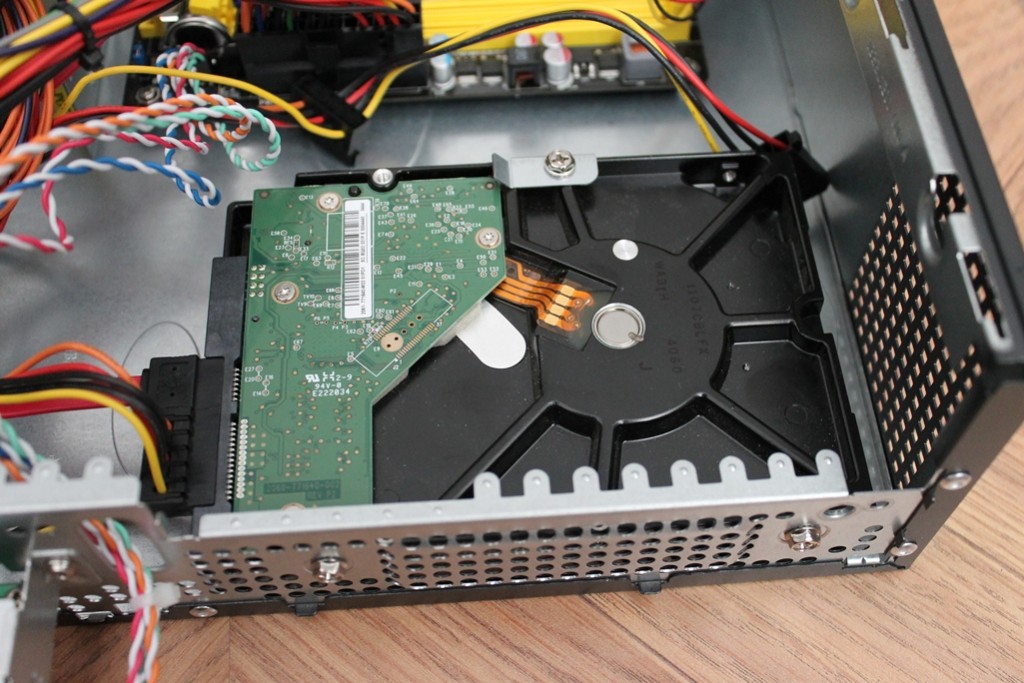
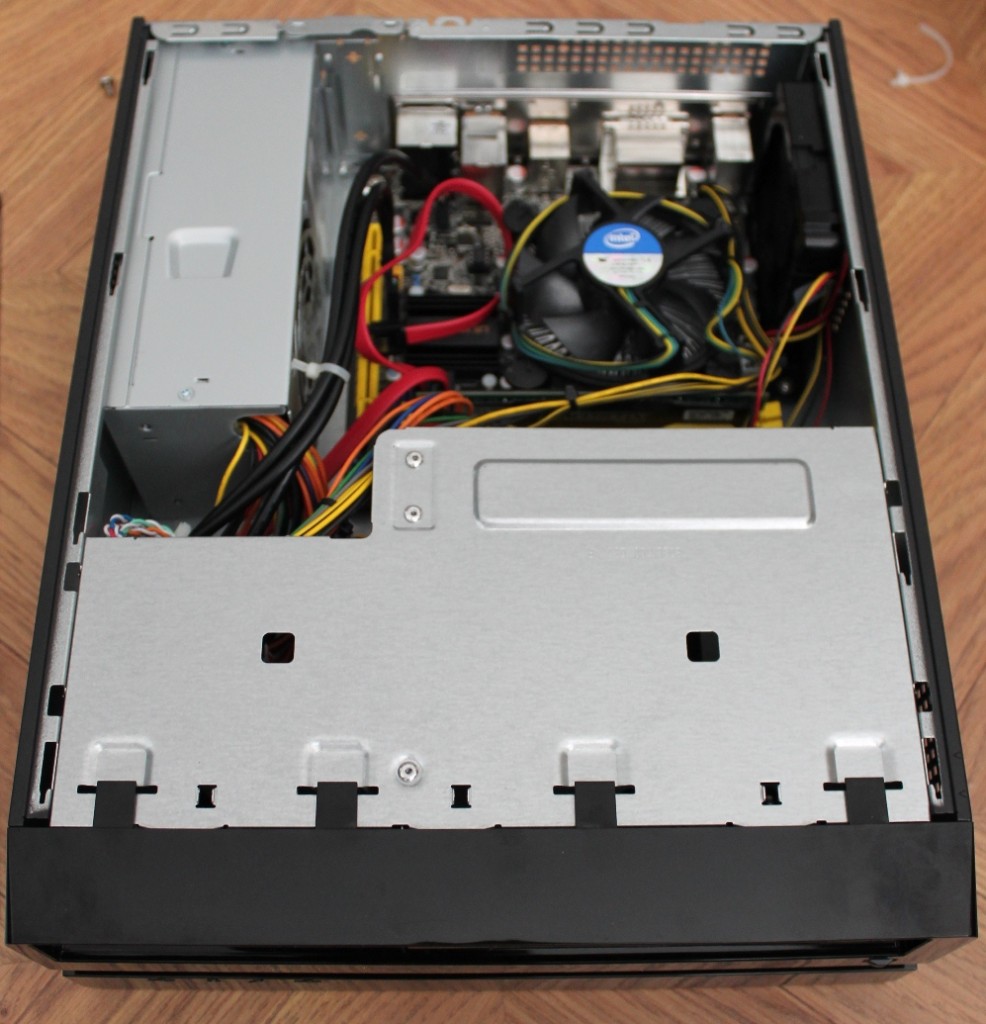
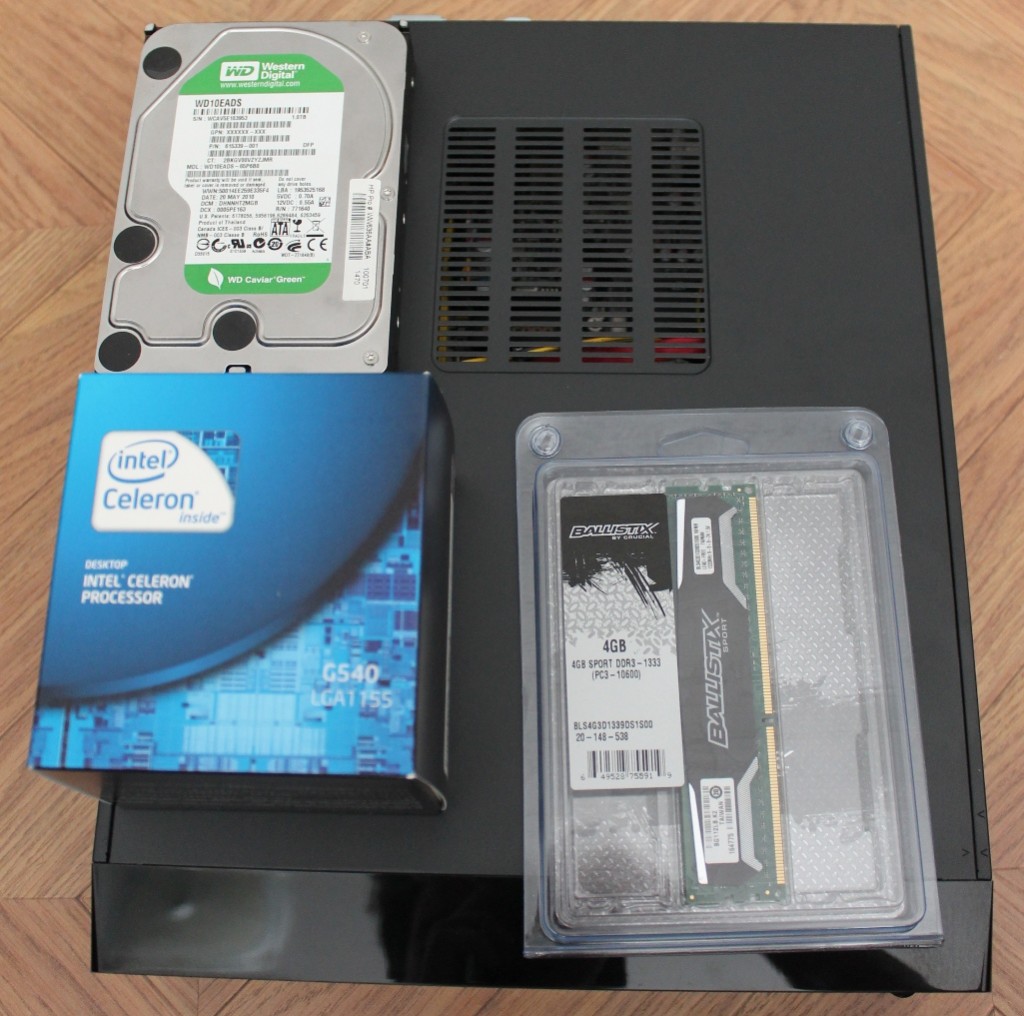
Those familiar with building computers can skip over this section, but some of you may have never built one before and it is useful to have at least a basic guide.  I’m not going to go into anything too in depth, but enough to also be a bit of a case review for the Foxconn RM3-H2. In the photo is the hard drive, processor, RAM, and barebones case, nothing much to say here. Here is a view of the inside of the case, everything is already wired up, just awaiting the processor and drives.  The Quick Installation Guide is actually quite good as it contains pictures for each step for everything so I’m not going to go too in depth. In order to access the internal hard drive mounting location the front panel must be removed. (It’s slightly annoying, but not actually particularly difficult.) Slide out the external drive mounts, and the hard drive mounting location is underneath. The hard drive slides in and attaches with 3 screws.  If I switched to an SSD this mounting scheme might be a bit of a problem, but I could probably just use the external 3.5″ drive location since it has more mounting options.  I kind of like the simplicity of it.

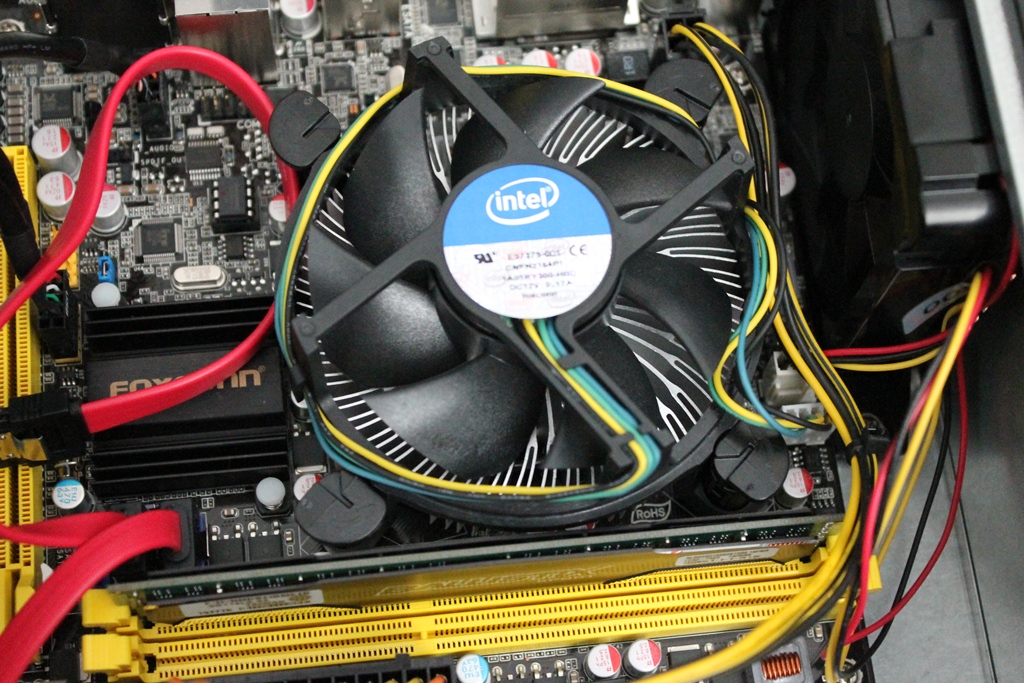
The CPU goes in like normal( the guide covers it fully, I wasn’t that thorough with my pictures…), same with the stock heatsink/fan combo.  This is a pretty low power system so I saw no reason to get something after-market.

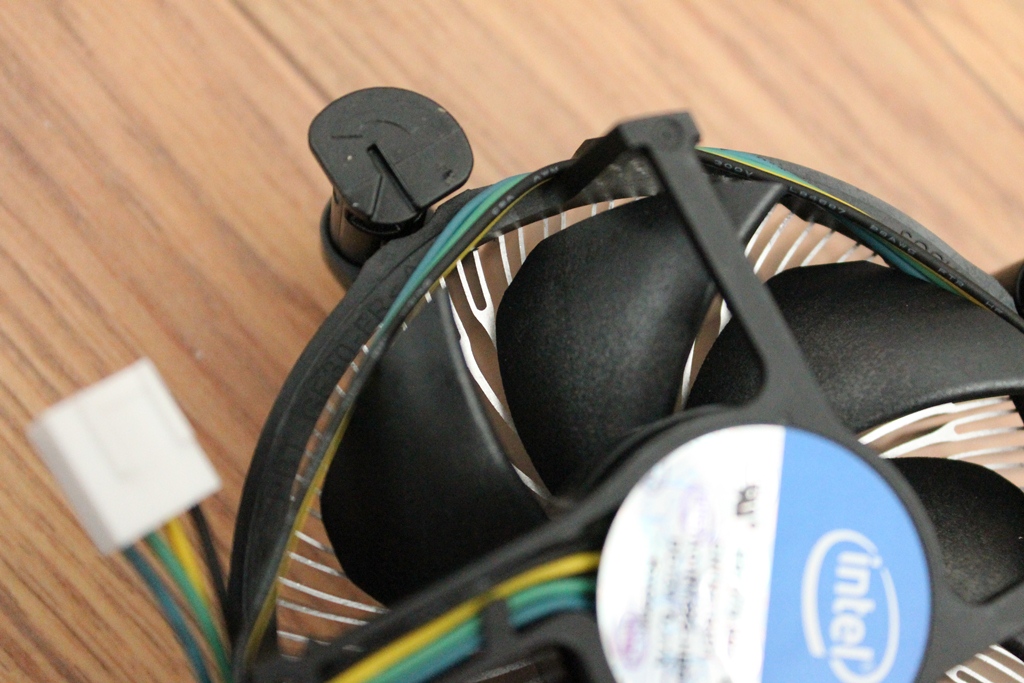
One thing to note is that the stock heatsink/fan has the wires wrapped around tightly so it is a good idea to loosen them to make sure the fan can turn. Finally, here’s everything installed.  I left the extra SATA cable in there since it doesn’t significantly block airflow and I won’t loose it…

I will cover the BIOS configuration and Ubuntu install in a future post.